
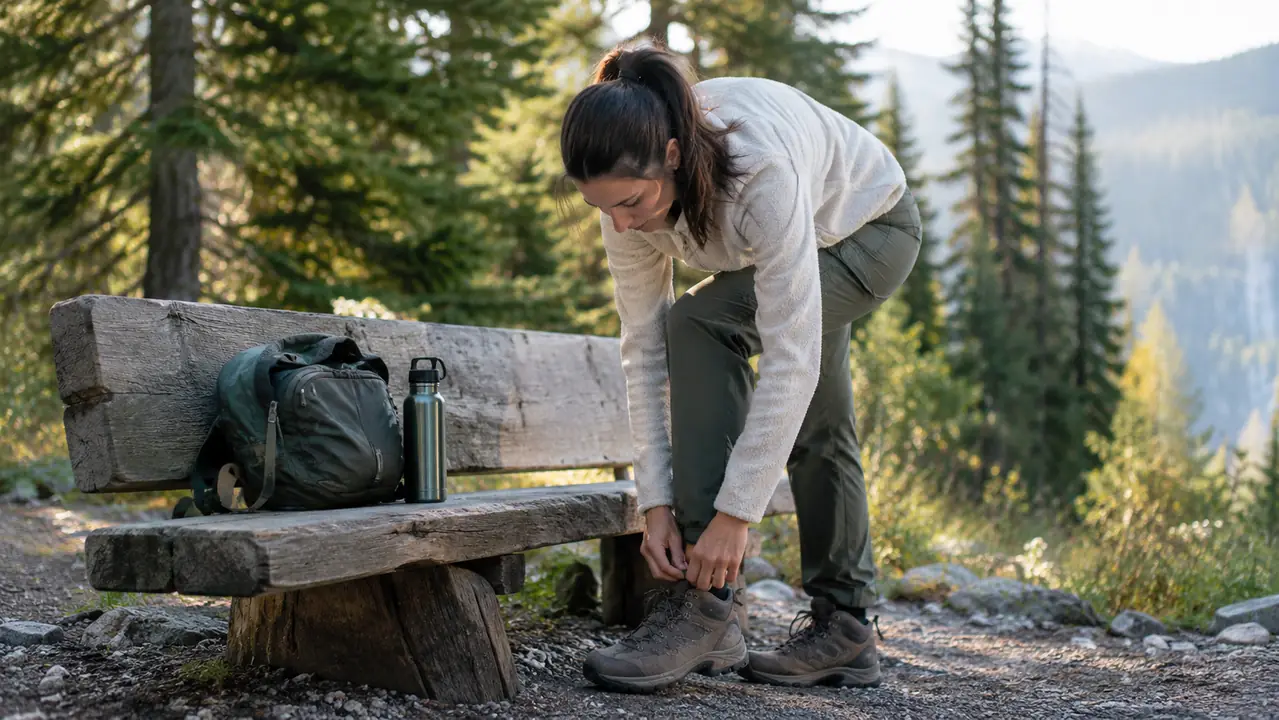
The first time I hiked with shoes that were too small, I blamed the trail. Then I blamed my age. Then I blamed the Merrell Moab 3, which was unfair, because the shoe was fine. The problem was the fit. After a decade of walking four to six miles most days in Bend, Oregon, I can tell you that sore feet on trails are almost never a toughness problem. They are a sizing problem, a sock problem, or a break-in problem, and all three are fixable before you ever reach the trailhead.
This guide is the routine I use with the Merrell Moab 3, the waterproof hiking shoe I have worn through a full season of river path walks and easy Cascade trailheads. It covers how to size them so your toes are not jammed on the downhill, how to break them in without blistering, and what to do when your feet still complain. None of it is complicated. Most of it is just paying attention before the pain starts.
Start with a shoe that fits, and half your foot problems disappear
The Merrell Moab 3 is the pair I reach for on most walks. Check today's price on Amazon and see if your size is in stock.
Amazon Check Today's Price on Amazon →Step 1: Size for the downhill, not the showroom
Here is the mistake I made for years. I bought hiking shoes the same size as my everyday sneakers, tried them on at the end of the day when my feet were tired, and called it good. Then I would hike a mile downhill and spend the rest of the walk with my big toe pressed against the front of the shoe. The Merrell Moab 3 fits true to size for me, but that only matters if I leave room for my foot to slide forward on a descent.
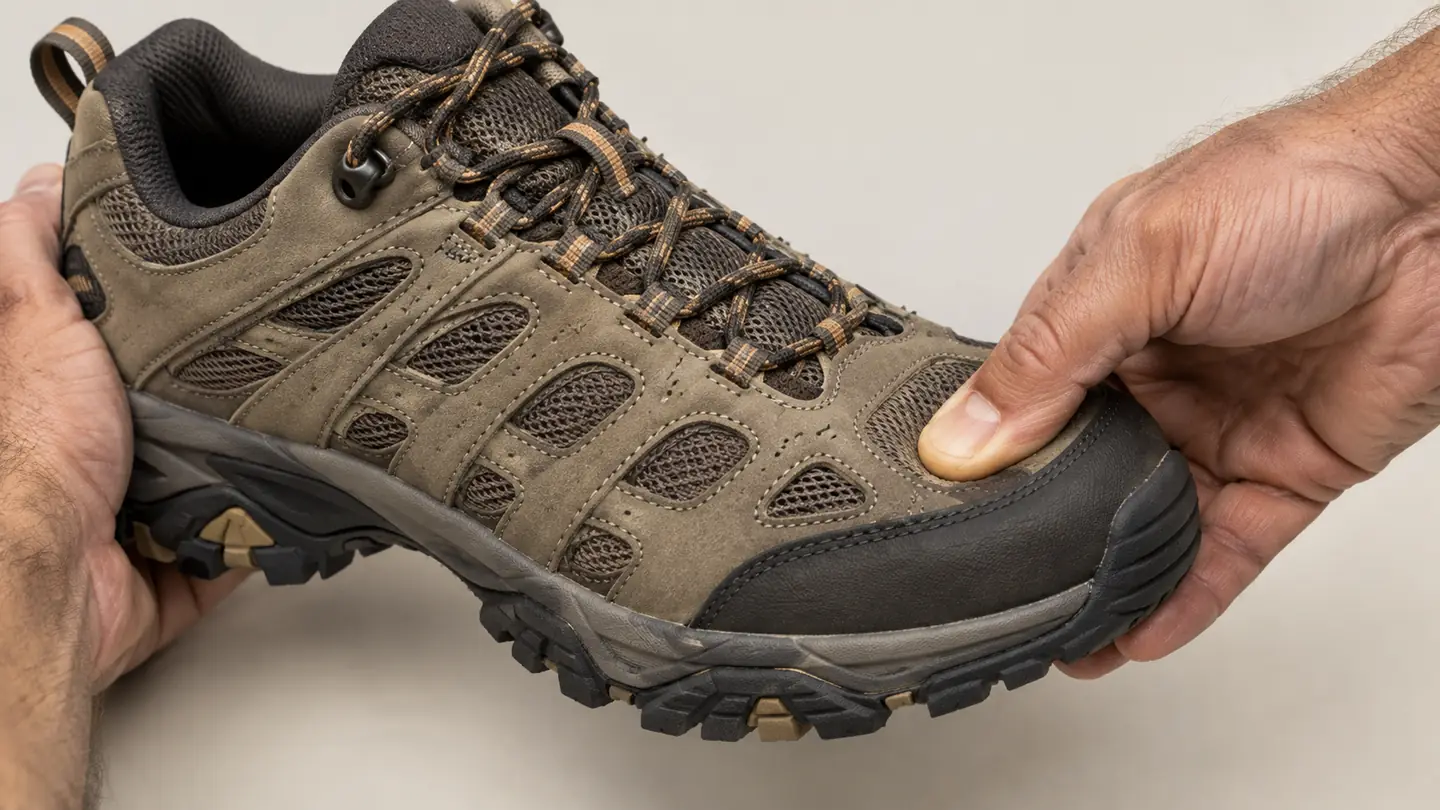
The rule I use now is the thumb test. With the laces loose and my heel firmly against the back of the shoe, I press my thumb into the toe box. I want about a thumb's width of space between my longest toe and the end of the shoe. That gap is what keeps my toes from slamming into the front on steep sections. If there is no gap, I go up half a size. If there is a lot of gap, I go down half a size. It takes two minutes in the store and saves me two hours of limping.
One more thing about sizing. Feet swell during a long walk, especially in warm weather. I try on shoes in the afternoon, after I have been on my feet a while, because that is the size my feet will actually be at mile three. The Merrell Moab 3 comes in half sizes, which helps. I wear a half size up from my sneaker size in this shoe, but your foot may be different. The thumb test matters more than any size chart.
Step 2: Match your socks to the shoe, not the other way around
I used to wear whatever socks were clean. That was a mistake. Thin cotton socks slide around inside a hiking shoe, bunch under the arch, and hold moisture against the skin. By mile two I would be adjusting my sock through my shoe, and by mile four I would have a hot spot. The fix was not a different shoe. It was a different sock.
For the Merrell Moab 3, I wear a midweight wool or wool-blend hiking sock, the kind that comes up over the ankle. The cushioning fills the shoe a little, which is why I do the thumb test while wearing the socks I plan to hike in. The wool keeps my feet dry when the waterproof lining is doing its job and also when it is not. I have walked through enough wet grass to know that a damp cotton sock is how blisters start.
If you are between sock weights, buy the sock first and size the shoe around it. A shoe that fits perfectly with a thin dress sock will feel sloppy with a thick hiking sock. The Merrell Moab 3 has a roomy toe box, so most people can size for a midweight sock without going up a full size. Try the combination at home, walk around the house for an hour, and check for pressure points before you commit to a long trail.
Step 3: Break them in on pavement before you take them to the trail
The Merrell Moab 3 is more comfortable out of the box than most hiking shoes I have owned. The cushioning is soft from the first wear, and the heel collar does not dig in the way some shoes do. But comfortable out of the box does not mean trail-ready. I still give every new pair a break-in period, because the shoe changes as it flexes, and my feet change with it.
My routine is simple. I wear new hiking shoes around the house for a few evenings, then on flat paved paths for a couple of short walks, then on easy trails before anything steep. That is usually three to five walks, adding a mile or two each time. I carry bandages and a spare pair of socks in my daypack for the first few outings, just in case. I have needed them exactly once, and it was worth carrying them.
The point of the break-in is not to soften the shoe. It is to find the hot spots while you are still close to home. A shoe that rubs at mile one will rub at mile five, and the longer you ignore it, the worse the blister. If a spot bothers me twice, I stop and adjust my lacing. If it bothers me a third time, the shoe is not right for my foot, and no amount of breaking in will fix that.
Step 4: Lace for the terrain, and re-lace at the trailhead
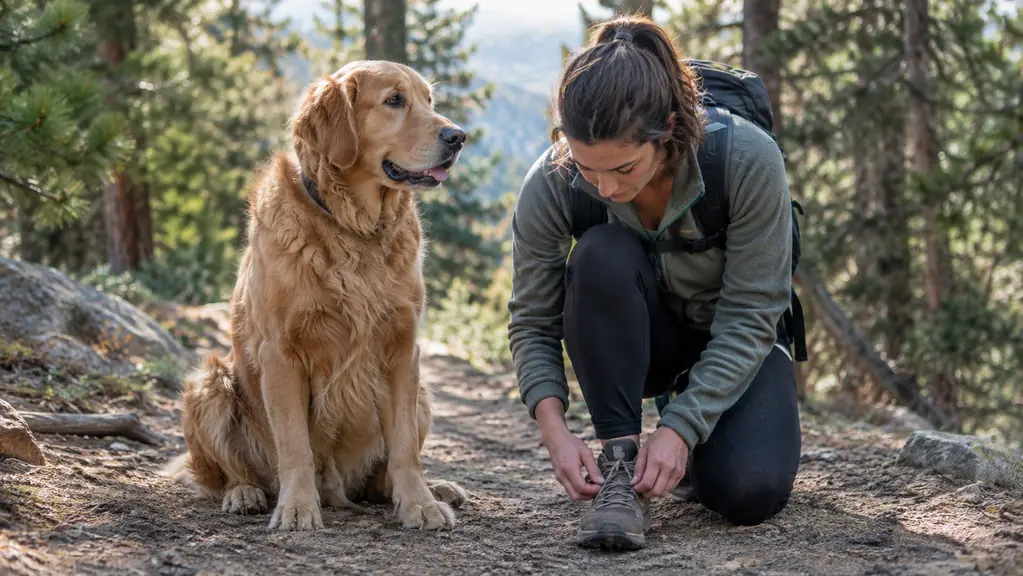
Most people lace their hiking shoes once and never touch them again. I used to be one of them. Then I learned that the same shoe can fit differently on a flat river path than it does on a rocky descent. The Merrell Moab 3 has traditional laces that hold well, but they only help if I adjust them for what I am about to do.
For flat walking, I keep the laces snug across the midfoot and a little looser at the toe. That lets my toes spread on every step. For downhill sections, I tighten the laces at the top of the shoe so my heel stays locked in place. A heel that slides is a heel that blisters, and it also makes my toes jam forward on every step. For uphill sections, I loosen the top eyelets a touch so my ankle can flex without the lace pressing into the top of my foot.
I also re-lace at the trailhead, every time. Shoes loosen during the drive, and feet settle into them differently once walking starts. Thirty seconds of adjusting before I start has saved me from a lot of mid-trail fiddling. If you have never re-laced a shoe on purpose, try it once. You will feel the difference in the first quarter mile.
Step 5: Stop the hot spot before it becomes a blister
A hot spot is a warning, not a normal part of hiking. The moment I feel a place on my foot getting warm or sore, I stop and deal with it. That usually means taking the shoe off, checking for a wrinkle in my sock, and re-lacing more carefully. Sometimes it means adding a bandage or a piece of moleskin over the spot before it turns into a blister.
I keep a small kit in my daypack: a few bandages, a small roll of moleskin, and a spare pair of socks. It weighs almost nothing, and it has saved more walks than I can count. The Merrell Moab 3 is a well-cushioned shoe, but no shoe can protect a foot from a sock that has bunched up or a lace that is too tight across the instep. Most hot spots are fixable in two minutes if I catch them early.
The other part of blister prevention is letting my feet breathe. On warm days I wear the Merrell Moab 3 with lighter socks, and I take my shoes off for a few minutes at a rest stop. That airing-out break is not pampering. It is maintenance. Feet that stay damp all day are feet that blister, and a ten-minute break can make the difference between a five-mile walk and a miserable one.
What Else Helps
The Merrell Moab 3 does a lot of the work on its own. The cushioning absorbs the shock of rocky trails, the waterproof lining keeps my feet dry in wet grass and light rain, and the grippy outsole holds on the loose gravel that covers most of my local trails. But a shoe is only part of the system. I also stretch my calves before a walk, keep my toenails trimmed short, and rotate between two pairs of shoes when I am walking every day. Rotating gives each pair a day to dry out and lets the foam recover its shape. That has done as much for my foot comfort as any single piece of gear.
If you are still getting sore feet after fixing your fit, your socks, and your lacing, look at your insoles. The Merrell Moab 3 comes with a removable insole, and some people need more arch support than the stock insole provides. I swapped in a firmer insole after a few months and noticed the difference on longer walks. Try the shoe as it comes first. Change one thing at a time, and you will know exactly what helped.
Sore feet on trails are almost never a toughness problem. They are a sizing problem, a sock problem, or a break-in problem, and all three are fixable before you ever reach the trailhead.
The Five Minutes After the Walk
What you do in the five minutes after a walk matters almost as much as what you do during it. When I get home, I take the Merrell Moab 3 shoes off right away instead of padding around the kitchen in them. I loosen the laces all the way so the tongue opens up, pull the insoles out if they feel damp, and set everything by the back door to air out. Wet insoles left inside a waterproof shoe overnight are a quick way to start the next walk with damp feet.
Then I take a minute for my own feet. I check for any red spot that might turn into a blister tomorrow, put on dry socks, and if a spot looks angry, I cover it before the next walk rather than after it starts to hurt. Juniper gets her paws checked at the same time, since cinder and burrs on the trails here get between her pads. It has become a little ritual for both of us, and our feet are better for it.
Give your feet the same head start I give mine
The Merrell Moab 3 is the shoe I reach for on most walks. Check today's price on Amazon and see if your size is in stock.
Amazon Check Today's Price on Amazon →