
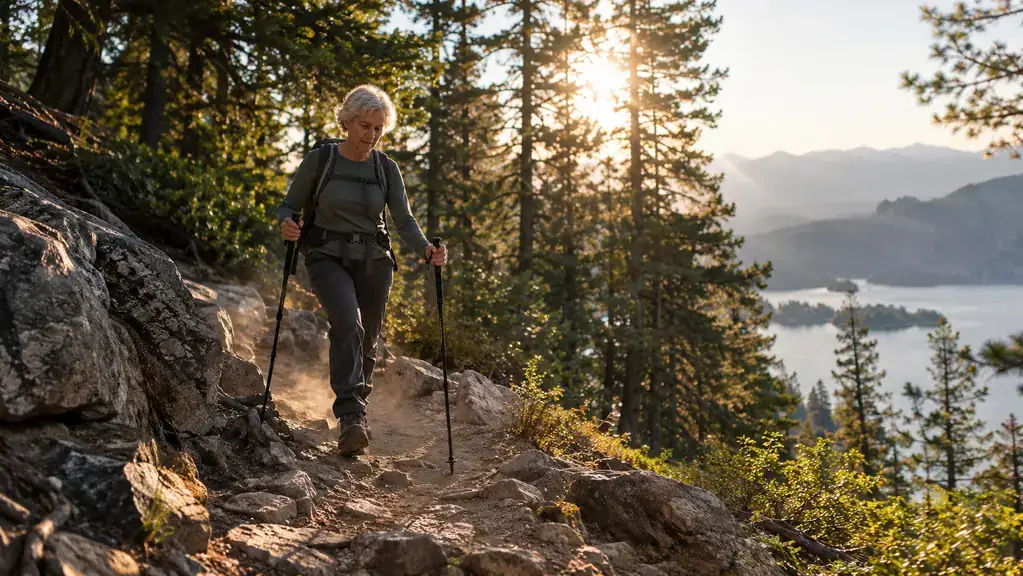
The first time I walked a real downhill with the TrailBuddy trekking poles, I felt it in my knees by the time I reached the bottom. Not a sharp pain, just that dull ache that tells you the next mile is going to be a negotiation. I am 61, I am a retired school nurse, and I walk four to six miles most days in Bend, Oregon, partly for my heart and my sleep and partly because my dog Juniper will not let me skip a day. The downhills were the part I dreaded. Then I spent a few months using the TrailBuddy poles on town paths and easy Cascade trails, and I figured out a rhythm that made the descents feel almost easy. This is that method, step by step, with the honest notes about what did not work.
If your knees complain on the way down, you have probably tried the usual fixes. Slowing down helps a little. Taking smaller steps helps a little. But neither one takes the load off the joint, because your leg is still doing all the braking. The TrailBuddy poles change that. They give your arms a way to share the work, and once you learn to plant them before each step, the downhill stops being a series of small impacts and starts being a controlled glide. Here is how I set mine up and how I use them.
The poles that made my downhills feel like a glide instead of a grind
The TrailBuddy trekking poles are the ones I reach for every morning. Lightweight, easy to adjust, and they have held up to months of daily use on rocky trails.
Amazon Check Today's Price on Amazon →Step 1: Set the length for the downhill before you start down
Most people set their poles once at the trailhead and never touch them again. That is the mistake. The right length for a flat path is not the right length for a descent. When you walk downhill, your leading foot lands ahead of you, and a pole that was comfortable on level ground forces you to reach down awkwardly or plant it too late. I set my TrailBuddy poles about two inches longer for downhills, which lets me plant them out in front of my body where they actually do some work.
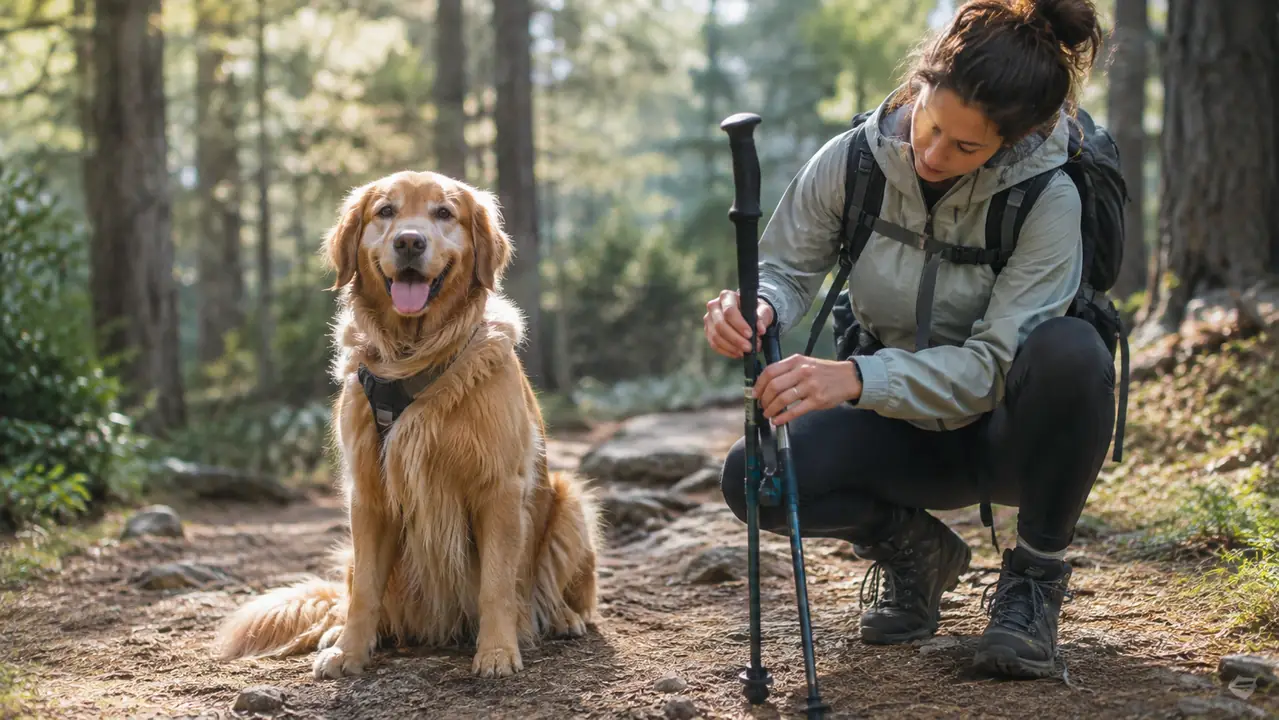
The TrailBuddy poles have a simple flip-lock adjustment, so changing the length takes about ten seconds per pole. I loosen the lock, extend the lower section, and tighten it again. I check that both poles are set to the same length by standing them side by side. It sounds obvious, but I have caught myself with one pole a full inch longer than the other, and that is how you end up listing to one side on a rocky trail.
A good starting point: with the pole tip on the ground, your elbow should sit at about a right angle when you grip the handle. That is the flat-ground setting. For downhill, add a couple of inches. For uphill, you would shorten them, but this article is about the downhills, so let us stay focused on that.
Step 2: Plant the pole before you step, not as you step
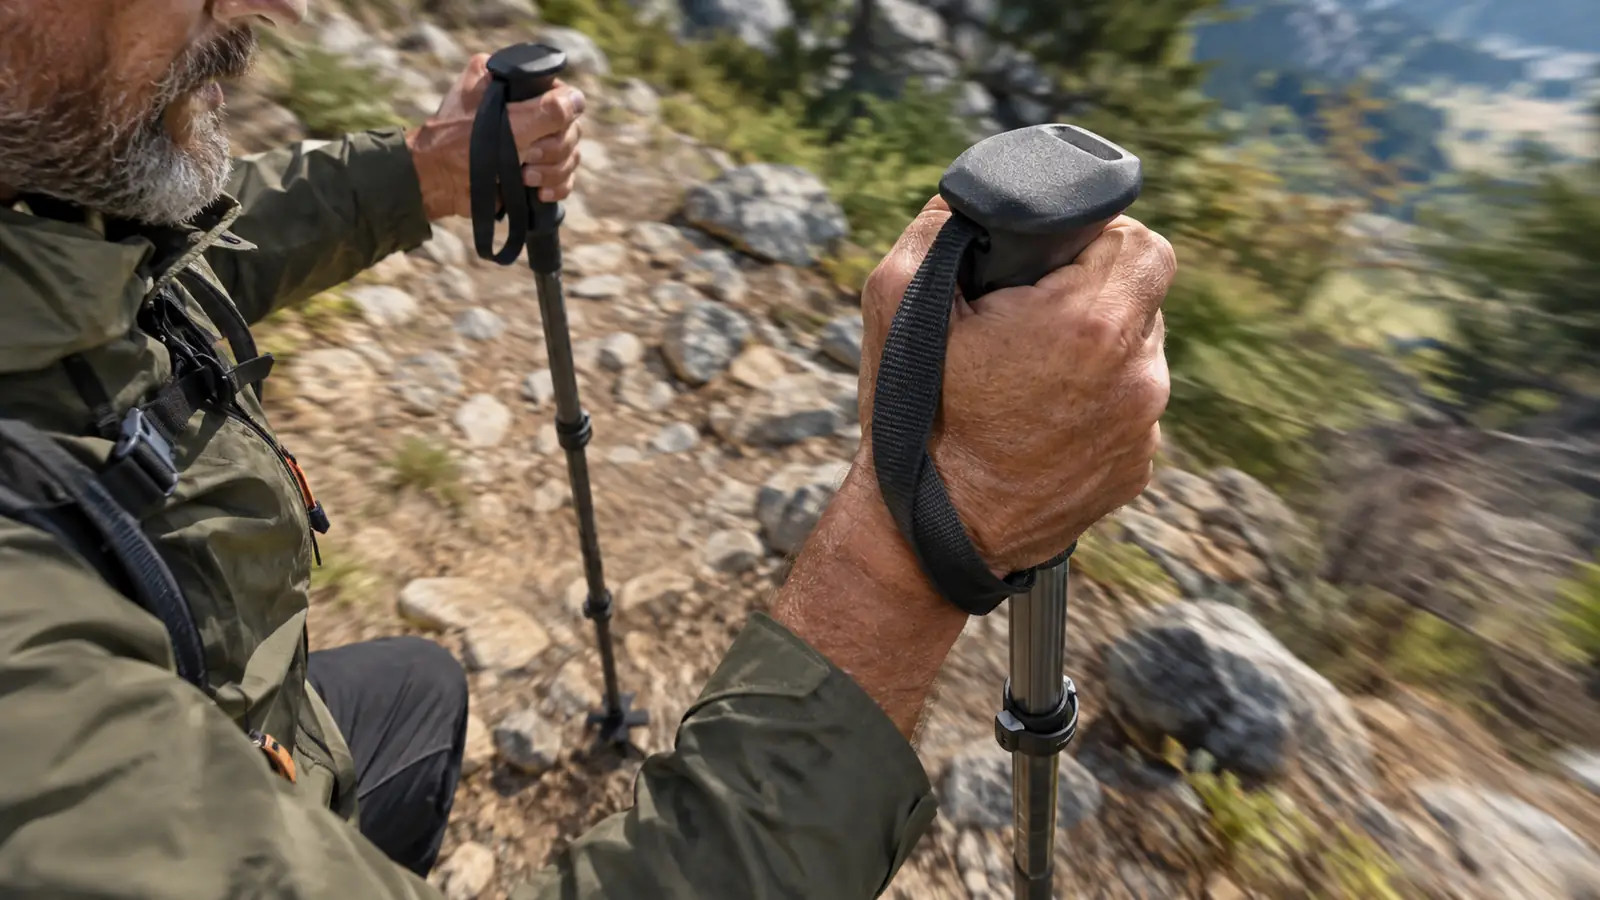
The whole trick of downhill pole walking is timing. If you plant the pole at the same moment your foot lands, the pole is not really helping. Your knee still absorbs the impact, and the pole just taps the ground uselessly. The motion that worked for me is a kind of alternating rhythm: right pole plants, left foot steps; left pole plants, right foot steps. The pole touches down a beat before the foot, so it is already taking weight when the foot arrives.
It took me about three walks to get this timing into my body. The first day I felt clumsy and kept catching the baskets on rocks. The second day was better. By the third day, the rhythm clicked, and I stopped thinking about it. That is the moment the downhill changed for me. My knees stopped doing all the braking because my arms were doing a share of it.
On steep sections, I plant both poles a little farther ahead and let my arms take even more of the load. On gentle slopes, I let the rhythm loosen up. The key is that the pole is always doing something, never just swinging along. If you find yourself carrying the poles like they are just extra weight, you are not planting them early enough.
Step 3: Let your arms do the braking, not your knees
Here is the part that surprised me. The poles are not for balance, or at least not only for balance. They are for braking. When you press down through the pole as you step, your arm and shoulder muscles take some of the force that would otherwise land in your knee. Over a long descent, that adds up to a lot of spared impact.
I am careful not to overstate this. I am a nurse, not a researcher, and I am not going to tell you that poles will fix your knees or that you will never feel a twinge again. What I can tell you is what I noticed: on the walks where I used the poles properly, my knees felt noticeably calmer at the bottom of the hill. On the walks where I got lazy and let the poles dangle, I felt the old ache return. That comparison was enough to make me use them properly every time.
The TrailBuddy poles have cork handles that get more comfortable the longer you grip them, and the straps let me keep a relaxed hold while still pressing down with real force. I do not death-grip the handles. I keep my fingers loose and let the strap carry some of the push. That sounds like a small detail, but it is the difference between arms that feel fine at the end of a walk and arms that feel like I spent the whole time hanging from a bar.
Step 4: Shorten your stride and keep your weight over your feet
Poles help, but they do not erase bad mechanics. The downhill stride that works with poles is the same one that works without them, just with more support. I take shorter steps than I do on flat ground, and I keep my weight centered over my feet instead of leaning back. Leaning back feels safer, but it actually makes your knees work harder because you are fighting the slope instead of moving with it.
I also look ahead more than I used to. When I first started walking with poles, I stared at my feet, which meant I was reacting to every rock and root at the last second. Now I scan the trail a few steps ahead, pick a line, and let the poles handle the small surprises. Juniper, my Australian shepherd mix, is usually out ahead of me on the trail, and watching her pick her way down a slope taught me something about choosing a path instead of fighting the terrain.
One more note on stride: do not let the poles make you lazy about your feet. The poles are support, not a replacement for paying attention. On the one day I let myself zone out and take long, careless strides, I caught a toe on a root and went down on one knee. The poles were in my hands the whole time, but I was not using them. That fall was my reminder that the gear only works when you work with it.
Step 5: Use the downhill to practice the uphill, and vice versa
This is the step that turned the poles from a tool I used on descents into a tool I use all day. Once I learned to plant early on downhills, I started noticing how much easier the uphills felt when I did the same thing. The poles became a natural part of my walking instead of something I strapped on for the scary parts.
On the way up, I shorten the poles back to the flat-ground setting and push down through them with each step, almost like I am climbing with my arms as well as my legs. On the way down, I lengthen them again and let them brake. The whole routine takes about twenty seconds at the top of a hill, and it means my knees and my arms each do the work they are best at.
The TrailBuddy poles collapse into three sections, so I can shorten them and stow them in my small SUV when I drive to a trailhead. That convenience matters more than I expected. If the poles were awkward to carry, I would leave them at home, and then they would not help anyone. Because they pack down small, they are always in the car, which means I actually use them.
What Else Helps
Poles are the biggest piece of my downhill routine, but they are not the only piece. I wear shoes with real tread, not the worn sneakers I used to walk in. I slow down on loose gravel and wet rock, because no pole can fix a foot that slides out from under you. And I stretch my calves and hamstrings for a few minutes after a walk, which seems to keep the next day's stiffness away. None of this is dramatic. It is just the unglamorous collection of habits that lets me keep walking four to six miles a day at 61.
On the walks where I used the poles properly, my knees felt noticeably calmer at the bottom of the hill. On the walks where I got lazy and let the poles dangle, I felt the old ache return.
A Simple Downhill Checklist
Before every walk with a real descent, I run through the same short checklist at the top of the hill, and it takes less time than Juniper spends sniffing the trail sign. First, are both TrailBuddy levers closed and tight? I lean on each pole once to check. Second, have I lengthened the poles a few inches for the downhill? Third, are my hands through the straps from below, so the strap carries my weight instead of my fingers? Fourth, is the dog's leash short enough that she cannot pull me forward on the steep part?
That last one matters more than people expect. A dog who spots a squirrel halfway down a gravel slope can undo every good habit in one lunge. On the steepest pitch near the creek crossing on my weekend trail, I shorten Juniper's lead, plant both poles, and let her know we are going slowly. She has learned it. Your dog will too, after a few weeks of the same routine on the same hill.
None of this is complicated, and none of it replaces common sense or a doctor's advice about your own joints. It just turns the downhill from the part of the walk I used to dread into a part I barely think about. The poles do their job best when the rest of the routine is set up around them.
Give your knees a hand on the way down
The TrailBuddy trekking poles are lightweight, adjustable, and easy to pack. If you walk trails and your knees complain on the descents, they are worth a try.
Amazon Check Today's Price on Amazon →